Southern California’s, Joshua Tree National Park is a photographer’s dream, boasting a unique blend of desert landscapes, iconic Joshua trees, and rugged rock formations. In this post, I will take you on a visual journey through this enchanting park, sharing my photography experiences and tips for capturing its breathtaking beauty. Whether you’re an avid photographer or simply a nature enthusiast, this post aims to inspire your next visit and help you appreciate the captivating allure of Joshua Tree through the lens.
Know before you go
Established October 31, 1994, JTNP is the 54th national park and one of nine in California. The park is home to 813 higher plant species, 46 reptile species, 57 mammal species, and over 250 bird species.
You will need to have your National Park pass or stop at the visitor’s center to pay your fee to visit the park.
While you are there, talk to a ranger about current events and get a map to plan your adventure! The park is open 24/7 year round but the best time to visit the park is spring and fall when temps are a bit more moderate.
Majestic Rock Formations
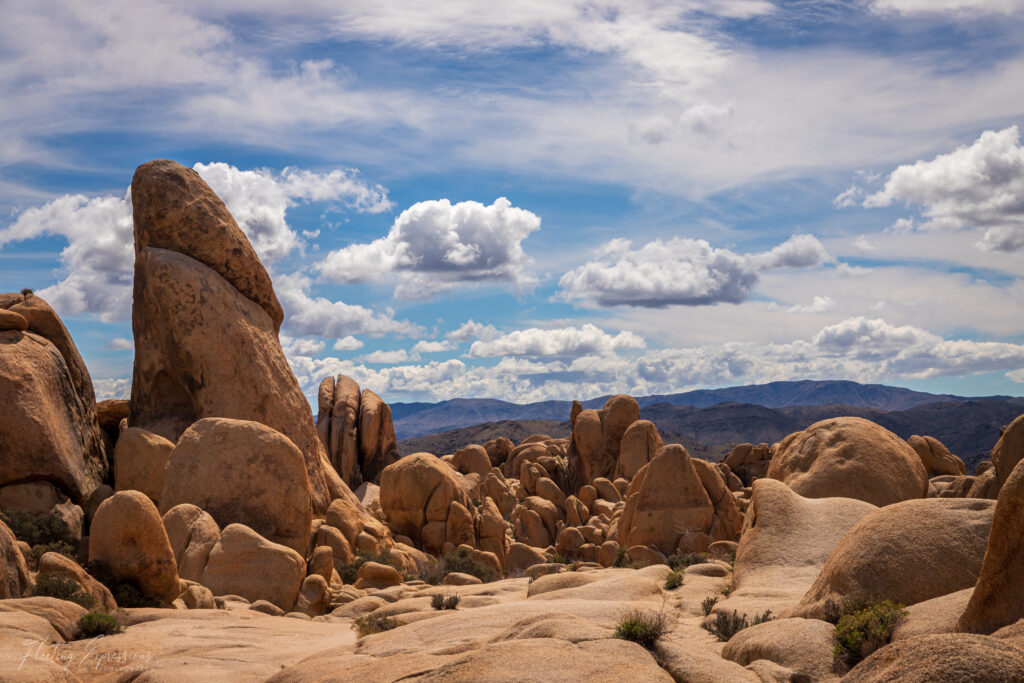
Speaking of iconic rock formations, this park has plenty to offer in that area! The massive boulder piles provide excellent climbing, hiking, and photography opportunities.
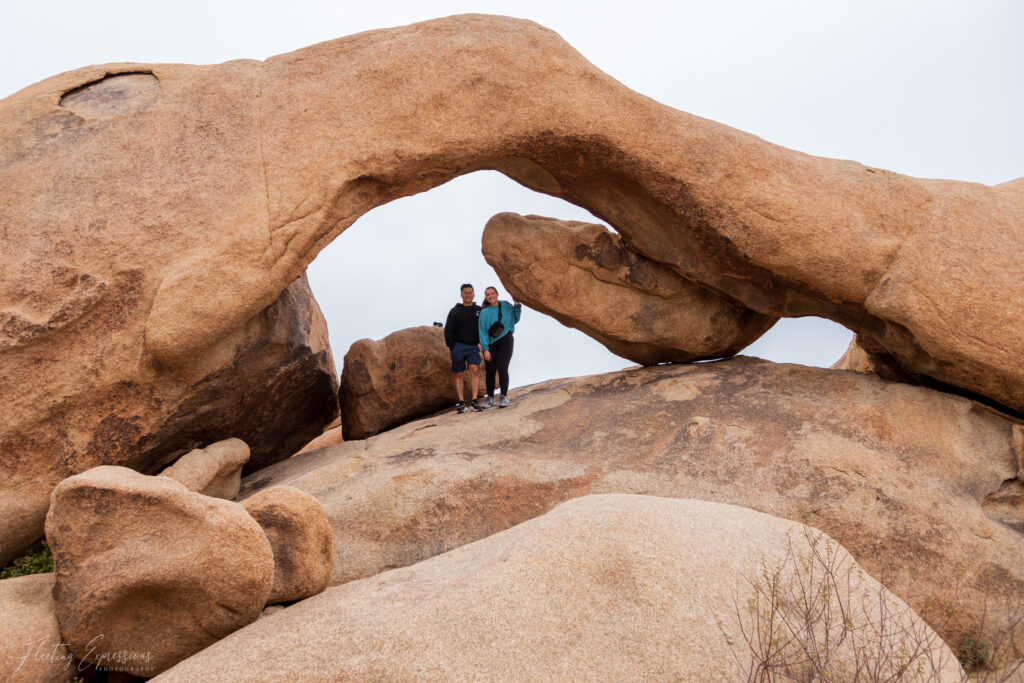
Arch Rock is located in the White Tank Campground area of Joshua Tree National Park, accessible via a short trail from the campground or the parking lot across the road. It’s a popular spot for visitors to climb on and photograph due to its picturesque setting among the Joshua Trees and large boulders. It’s a great place to explore during the day or to photograph during sunrise or sunset when the light enhances the rock’s natural beauty.
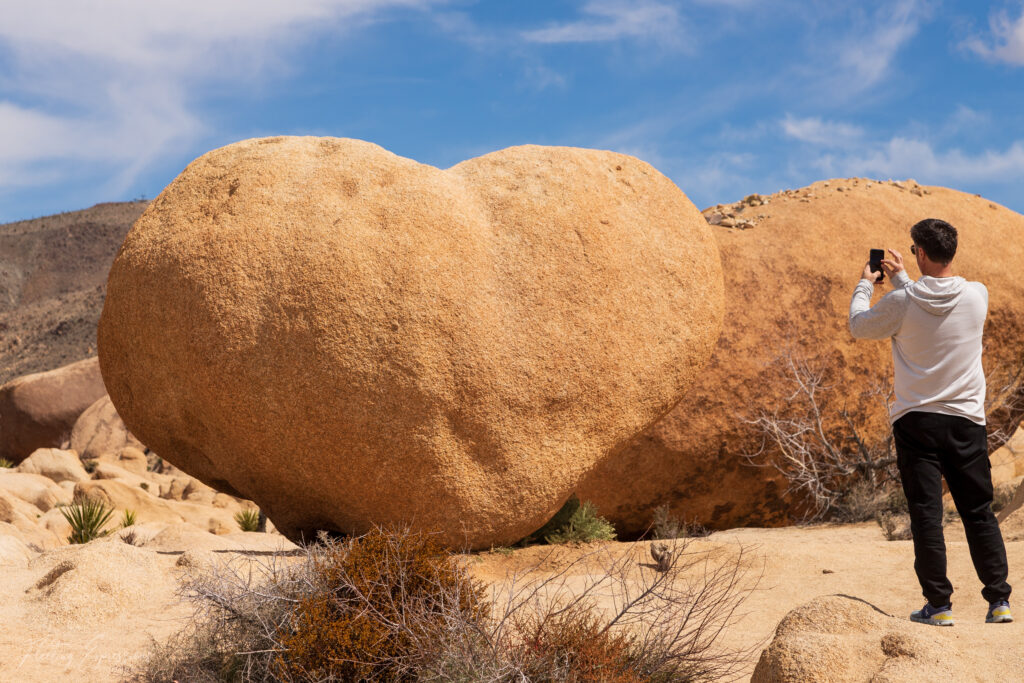
The trail for Arch Rock includes another fabulous formation, Heart Rock.
One of the “rules” of photography is if you see a heart, photograph it. Don’t let social media fool you, this is a popular spot and will be filled with people most of the time. If you go early you will have time to try different angles and see what you like with fewer people to dodge.
The hike for both formations is about 1.6 miles and is considered easy by All Trails.
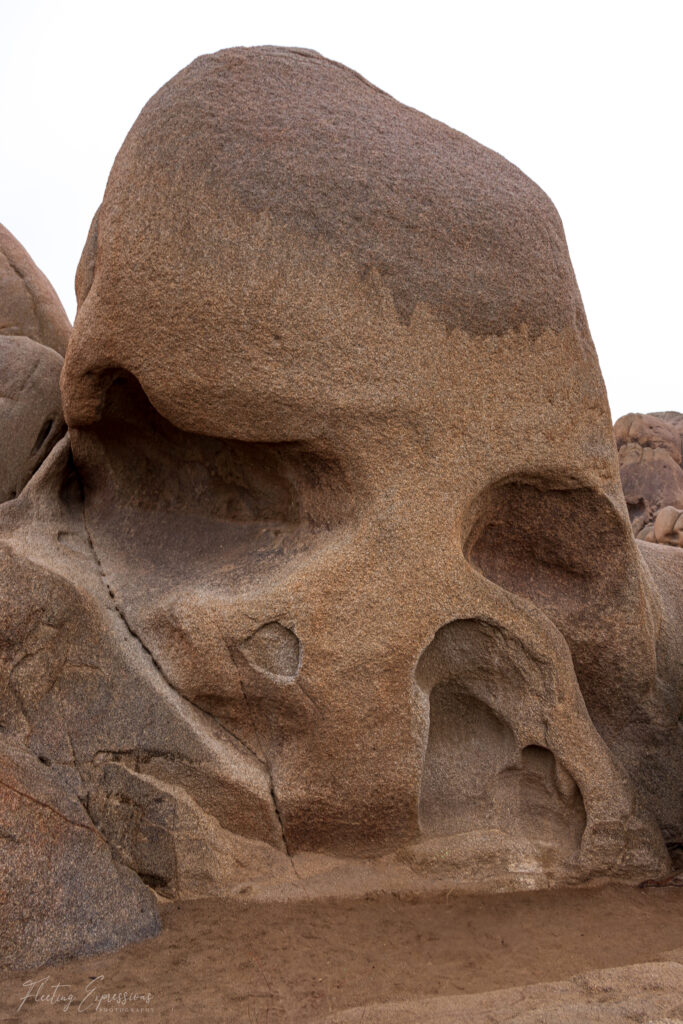
Skull Rock is another iconic formation that should be on your list to see! It is located along the main park road, near Jumbo Rocks Campground.
You may have to wait in line for a photo but everyone was patient and happy to help if you needed an assistant.
Visit early in the morning or late in the afternoon to avoid crowds and enjoy the best lighting for photography. I can imagine this formation being quite eerie late at night, but I bet it would be cool with the Milky Way overhead!
Take a trip to visit the park and explore the amazing rock formations! While it is tempting to climb the iconic formation, it can be slippery and uneven. It is also fragile so use caution and don’t damage the formation or yourself!
Barker Dam
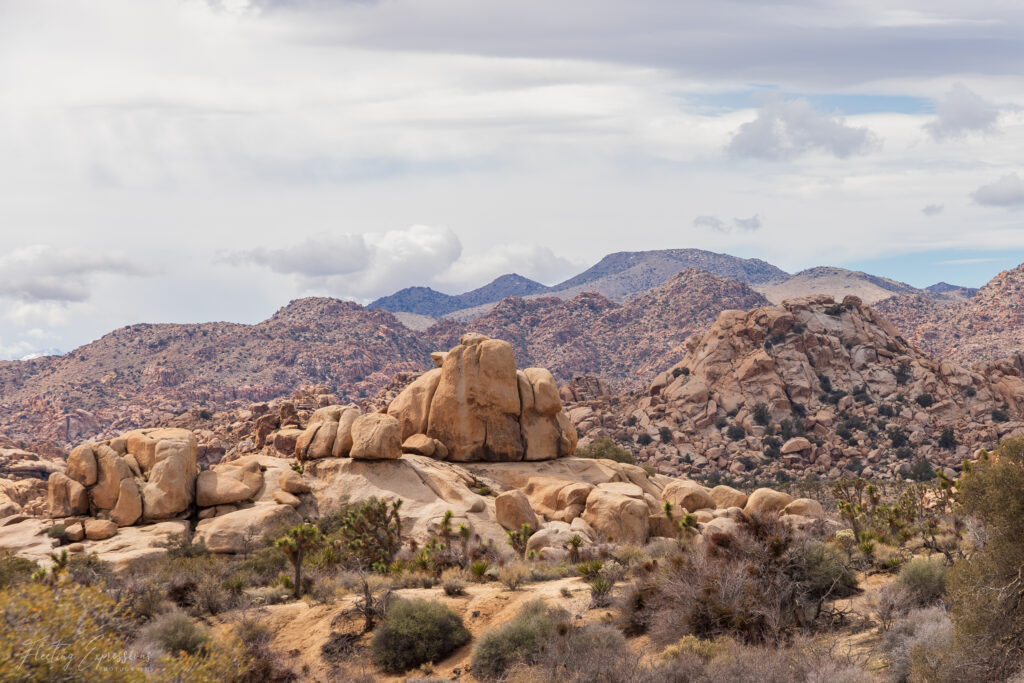
The Barker Dam Trail is a well-marked, easy 1.3-mile loop that takes you to the dam and back. It’s suitable for all skill levels and is family-friendly. The trail provides plenty of opportunities for exploration. Visitors can scramble on nearby rocks and enjoy panoramic views of the desert landscape.
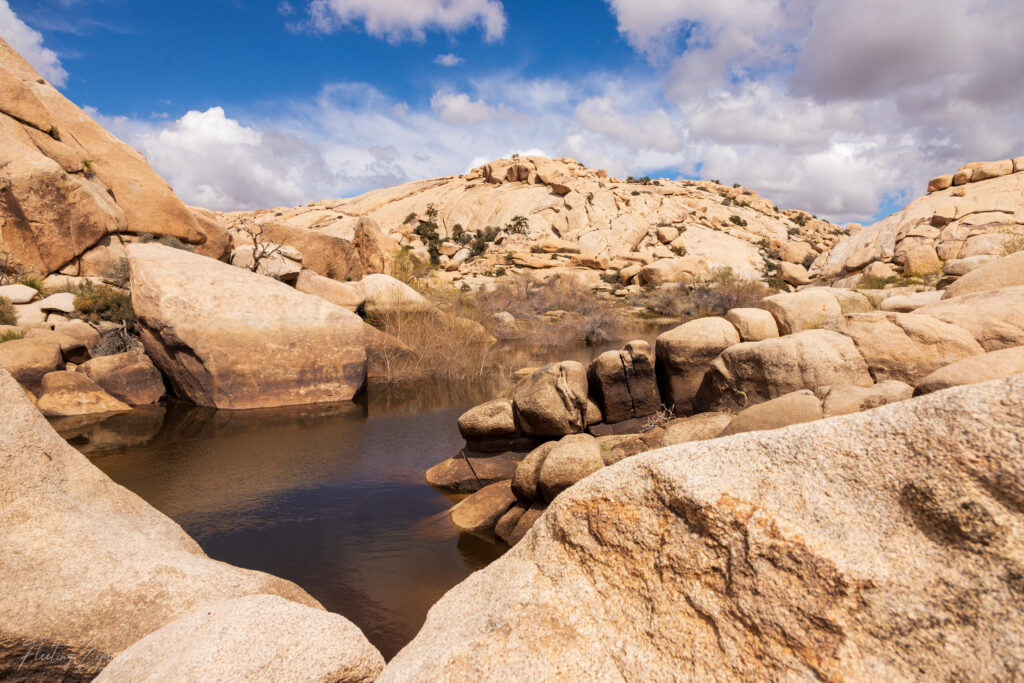
Barker Dam was built around 1900 by early cattle ranchers, including C.O. Barker, to create a water source for their livestock. The dam and its surroundings provide a glimpse into the park’s ranching past.
Barker Dam is a popular spot for photographers, especially during sunrise and sunset when the light is most dramatic. The reflection of the surrounding rocks and sky in the water can create beautiful images.
The dam area offers stunning desert scenery, including rock formations, Joshua Trees, and seasonal wildflowers.
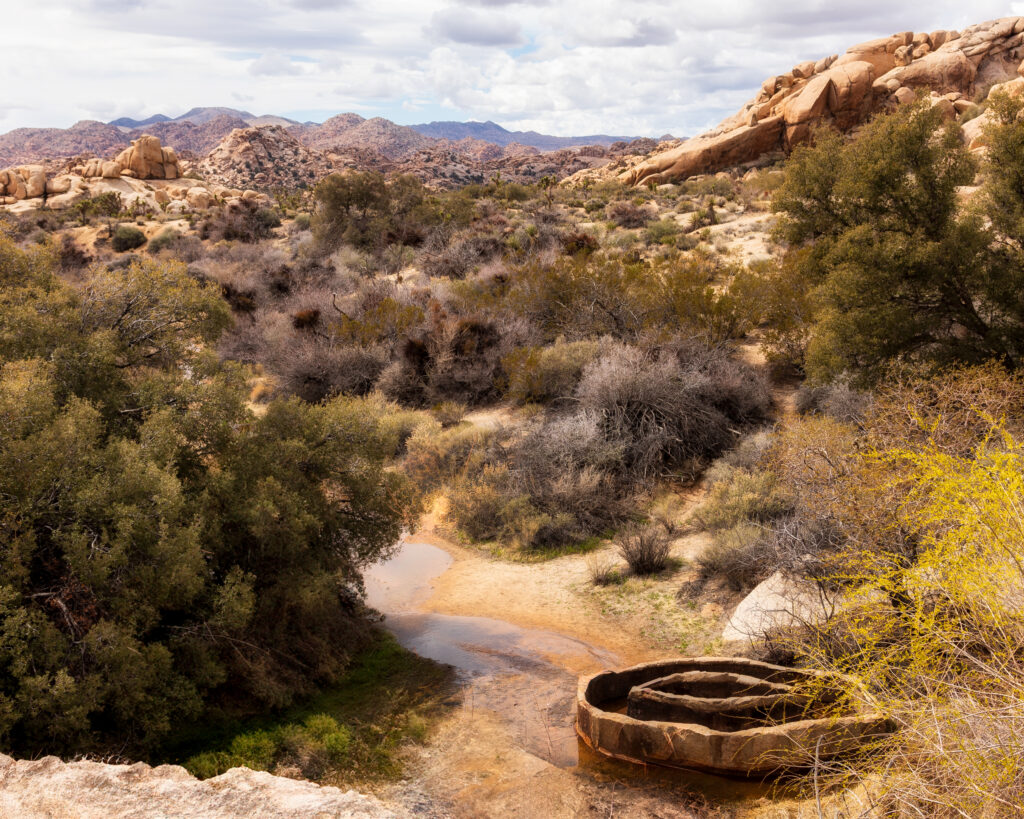
Find an interesting subject, like the dam or the water reservoirs, and explore different angles to create a beautiful landscape image.
I liked how the water reservoir anchored the scene with the creek drawing the eye through the image and to the rock formations in the distance.
Cholla Cactus Garden
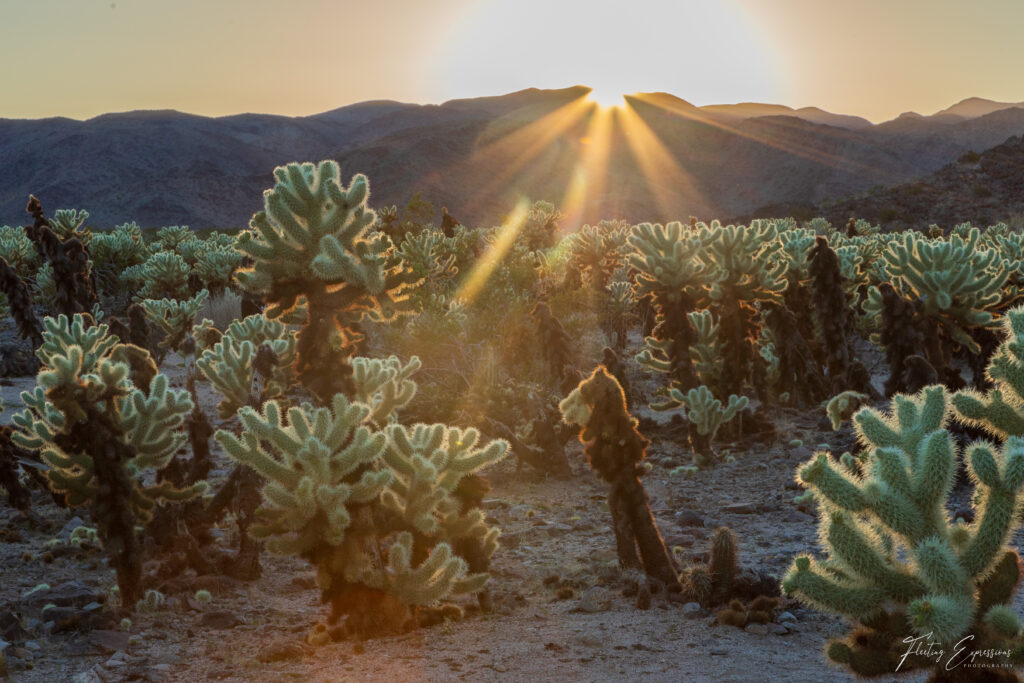
The Cholla Cactus Garden is mesmerizing during golden hour. The expanse of golden spines punctuates the desert landscape like a surreal garden of natural sculptures.
Walking through this otherworldly garden feels like stepping into a delicate yet formidable sanctuary where the silence is only interrupted by the occasional rustle of a desert breeze. It’s a place where the beauty of the desert’s resilience and adaptation unfolds in every prickly detail, offering visitors a unique glimpse into the wonders of Joshua Tree’s ecosystem.
While the cholla are eye-catching any time of day, I believe they are best photographed during the golden hour. Go early and enjoy the late afternoon play of light as the dense clusters of teddy bear cholla cacti shimmer under the desert sun.
They will beg you to touch their sparkly spines, but I warn you now…look but don’t touch. They don’t call them the jumping cactus for no reason!
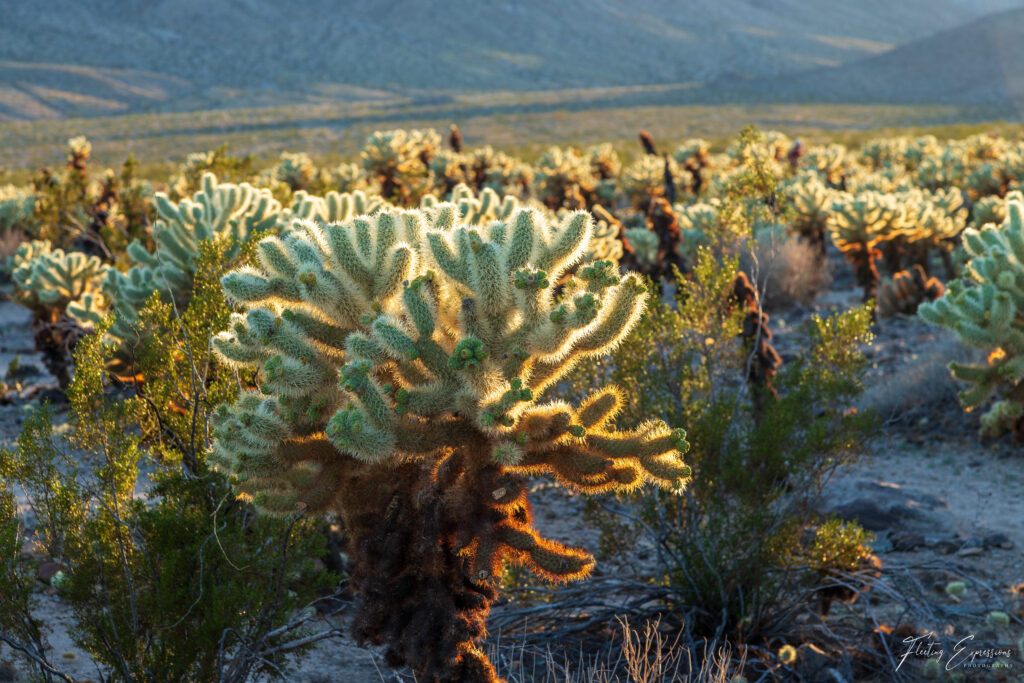
Joshua Tree Forest
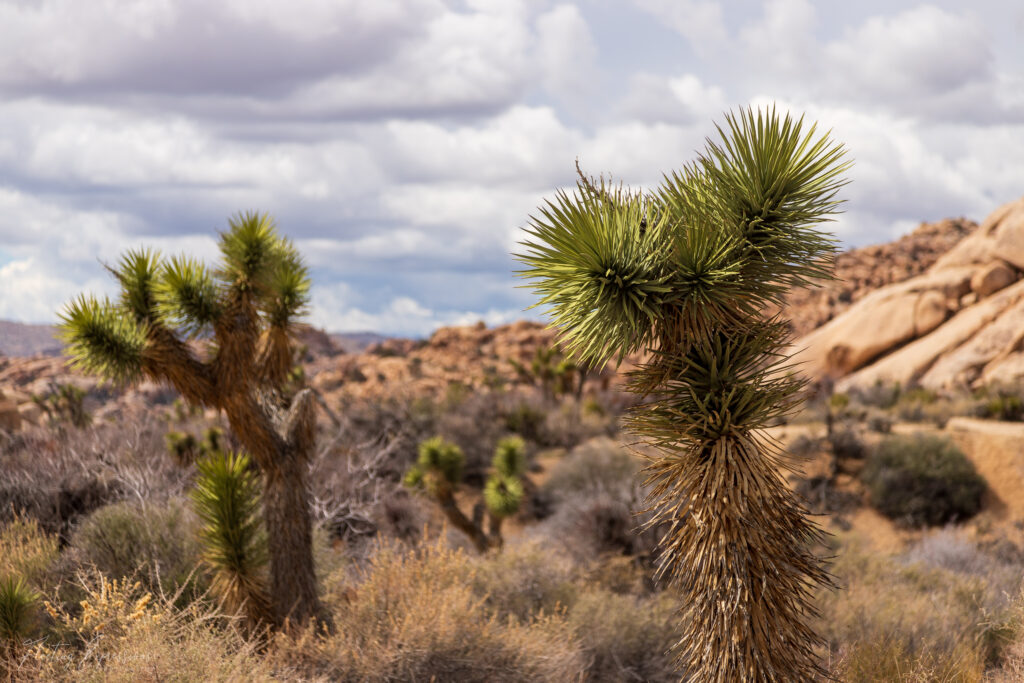
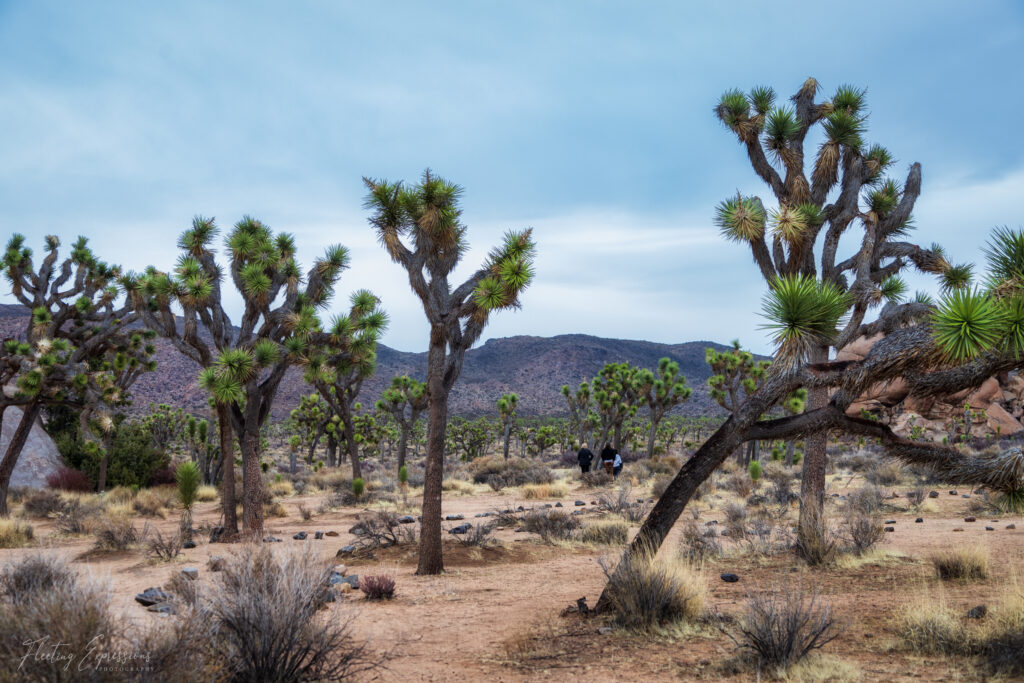
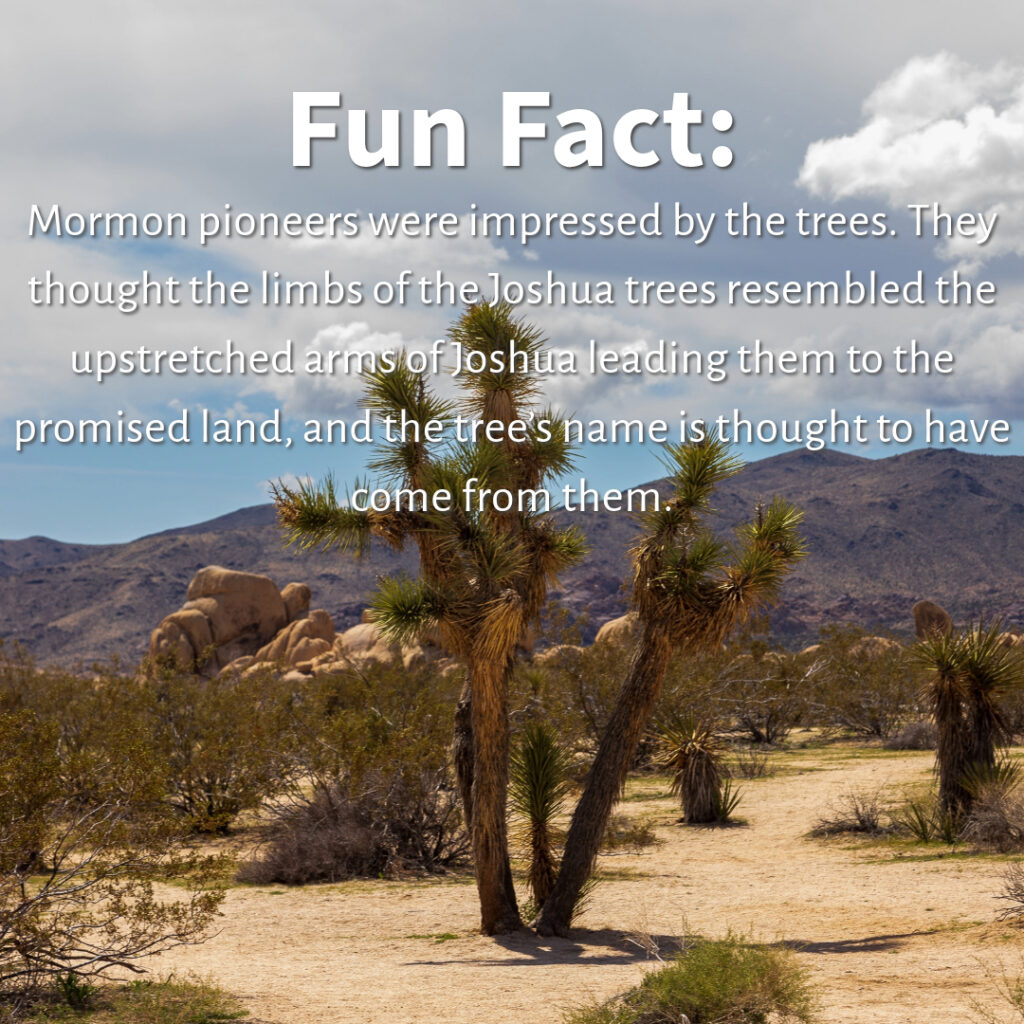
The Joshua Tree Forest is, without a doubt, the star of the park! These trees are just amazing to see in person and so unique and (surprise!) they are not even trees. I know, right?!? How crazy is that? The Joshua Trees (Yucca brevifolia) are not trees but a species of yucca plant. They can grow up to 40 feet tall and live for hundreds of years. Their distinctive shapes, with spiky leaves and branching limbs, create a surreal and otherworldly atmosphere.
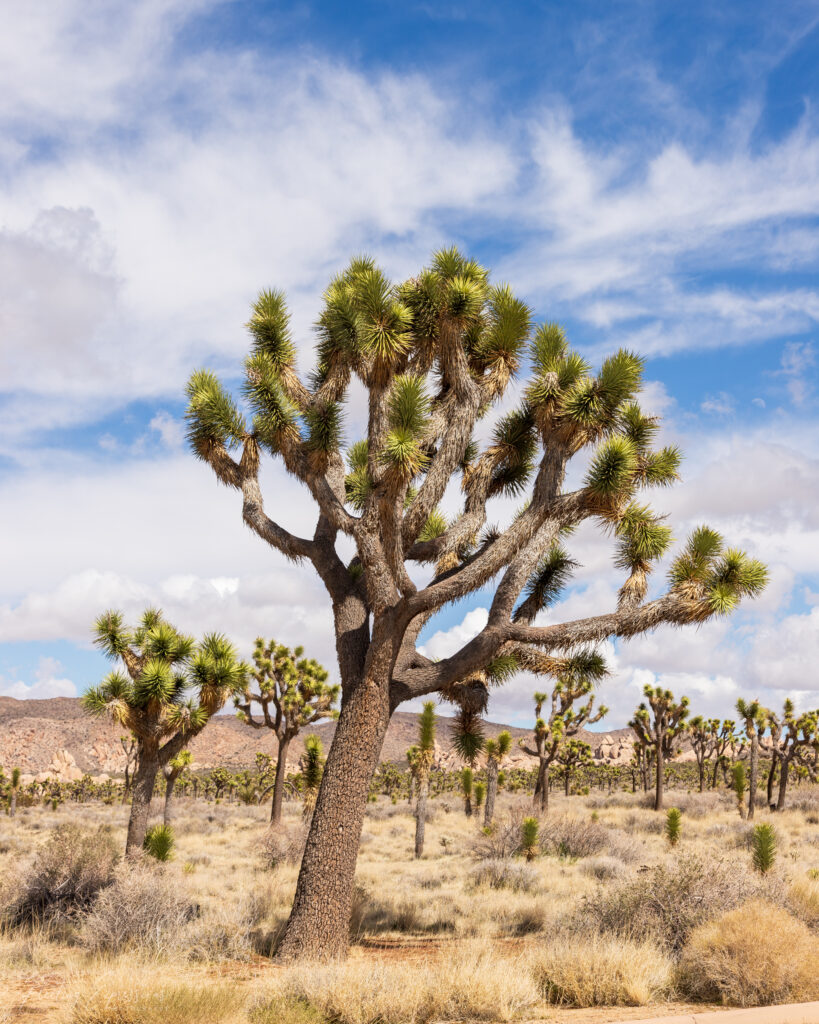
The Joshua Tree forest, under a brilliant azure sky, is a striking and enchanting landscape where these iconic trees dominate the scenery with their twisted, spiky branches and unique silhouettes.
Visiting the forest is a memorable experience. It showcases the resilience and beauty of desert life and offers a serene escape into one of nature’s most unique environments. Imagine wandering through the forest, where the air is crisp and the silence is broken only by the rustle of a gentle breeze.
You’ll find the forest on the north end of the park. It thrives in the higher elevations of the park, which fall within the Mojave Desert ecosystem. The densest and most picturesque groves can be found in areas like Queen Valley and Lost Horse Valley.
I believe the forest can be photographed beautifully at any time of day but it will shine during golden hour, sunset, and especially after dark! The night sky is as quiet and calming as it is dark.
Night Photography in Joshua Tree
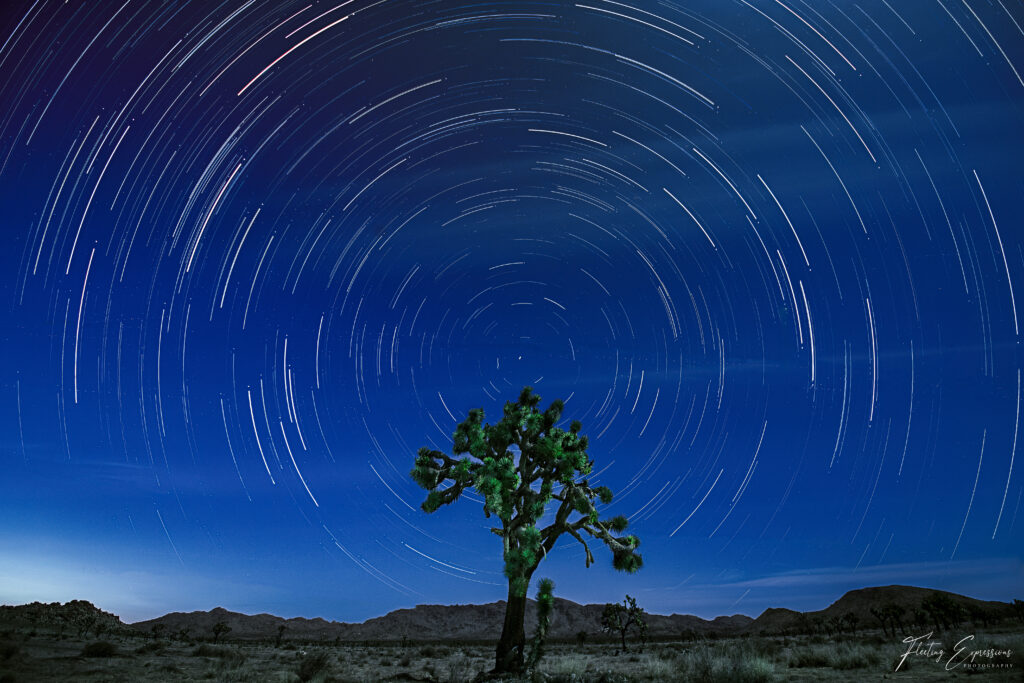
Night photography in Joshua Tree National Park is a magical experience, offering some of the clearest and most stunning views of the night sky in Southern California. There are many national parks rated as “dark skies” but Joshua Tree is one of my favorites with the iconic trees for subjects and the park free from light pollution throughout. It is an ideal location for stargazing and astrophotography. Here are some tips to make night photography in the park special and create your own fantastic images.
Basic guide to night photography and capturing star trails
- You will need a camera capable of long exposures, a tripod, and a remote shutter release or a timer on your camera to capture images of the Milky Way and star trails.
- For long exposures I start by setting my ISO around 800-1000 with my aperture at the lowest number my lens will allow. I use a wide-angle lens so generally that will be 2.8 or 4.0. You will want an exposure of at least 20-30 seconds to capture the movement in the stars for star trails. You could go much longer for the Milky Way though depending on your other settings. Those are my starting settings and I adjust as needed based on what I get with my test shots. I do try not to exceed 3200 on my ISO just to keep noise down but there are many post-processing techniques and software that can make almost any ISO acceptable so don’t be afraid to experiment!
- Choosing a location is something you will do ahead of time, in the daylight. Choose a strong subject with an unobstructed view of the night sky. There are many options in the park with the Joshua Trees, cholla cactus, and rock formations.
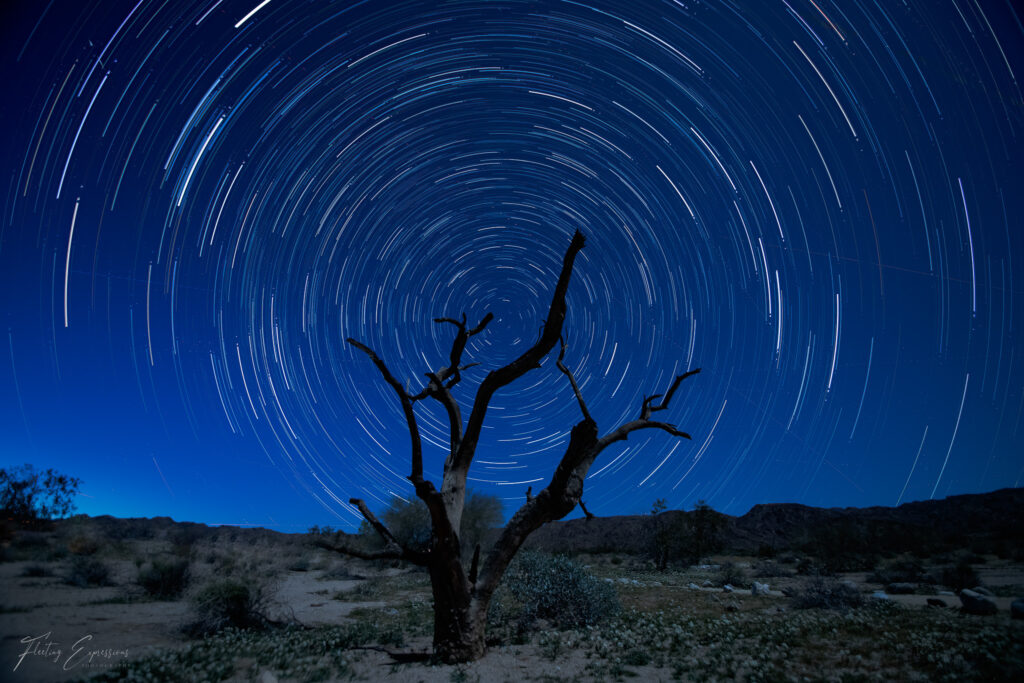
To get a star trail circle you find the north star, frame your composition, and focus manually to ensure sharpness, often setting the lens to infinity. There are two ways to capture star trails: use an even longer exposure (several minutes) or stack multiple long exposure shots in post-processing. I shoot multiple exposures and stack the images. I shot and stacked 186 images but 200 or more would have been better I think. More images stacked add more stars to the star trail.
Final Thoughts
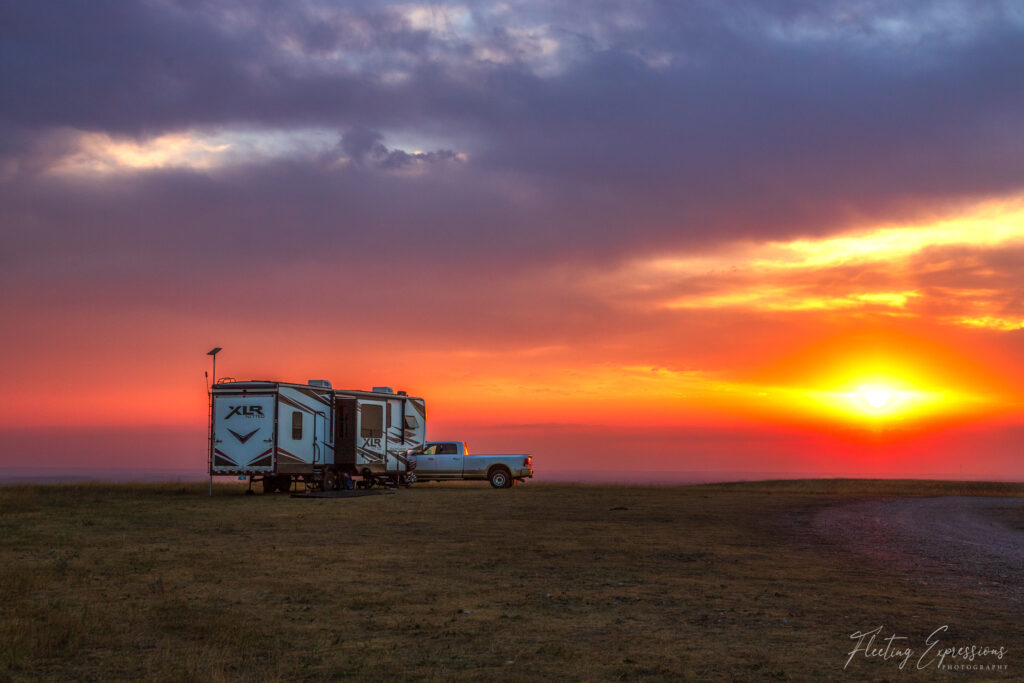
I am captivated with the landscape of Joshua Tree NP and look forward to future visits. The Bureau of Land Management manages land just outside of the south entrance which provided the perfect base camp for exploring the park. We even walked into park from our campsite on several morning walks.
If, like me, you are fascinated with the desert landscape, dark night skies and unique flora, I encourage you to visit the park. I would love to hear about your experience when you do and tag me in your photos! In the meantime, subscribe to my newsletter to be the first to hear about new adventures and follow our travels exploring the beautiful USA.
Follow me on social media for real-time updates and behind-the-scenes content!

