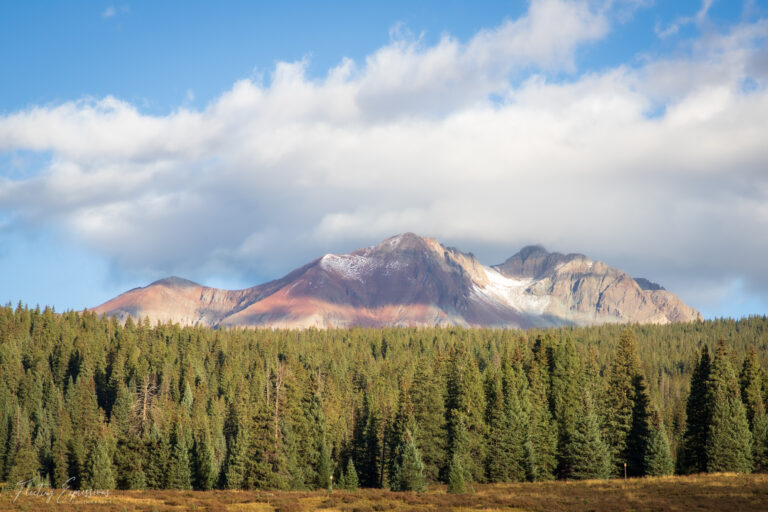
The Charm of Landscape Photography
In my previous post, I shared my take on landscape photography along with examples from my portfolio. You can check it out here or find it in the list of recent posts in the sidebar on the right.
Landscape photography holds an irresistible charm, drawing in both seasoned photographers and amateurs alike. It’s the enchantment of capturing nature’s grandeur, from majestic mountains to tranquil lakes, that fuels this passion. Each landscape offers a unique story, a fleeting moment frozen in time, waiting to be immortalized through the lens. In a world where time seems to move faster than ever, landscape photography offers a timeless escape, allowing us to pause, breathe, and appreciate the beauty that surrounds us.
Planning the Adventure
There are two ways to approach planning a landscape image. The first, and frankly my go-to method, is to simply notice what is around you. You probably have an image in mind already so start looking around in the area and see what you can find. If your goal is to capture the essence of the area then the planning is even easier, just go out and start shooting!
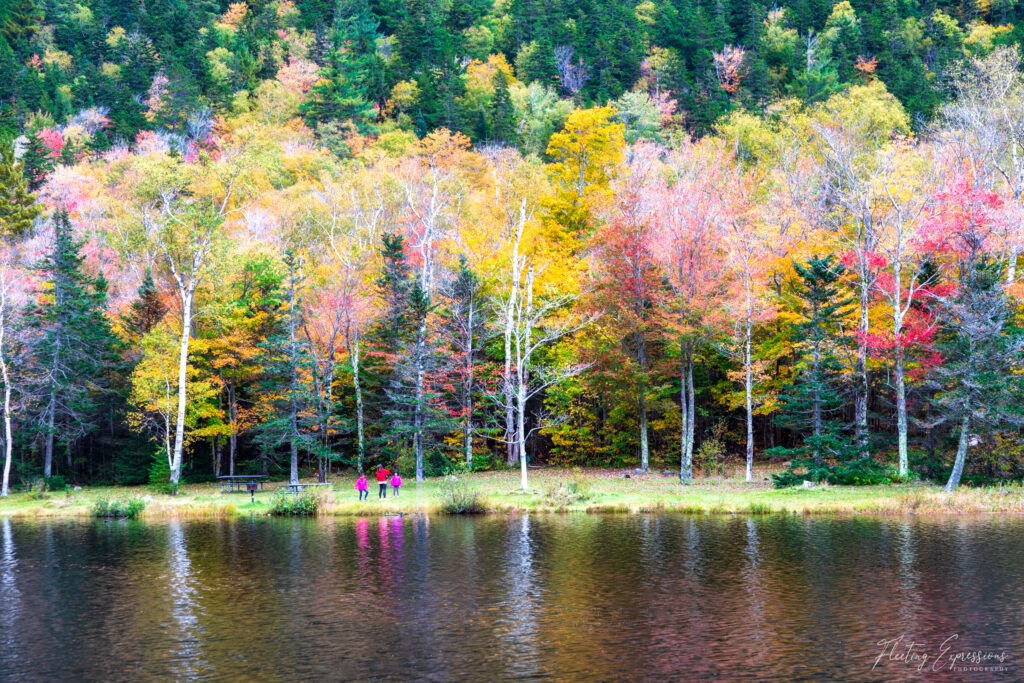
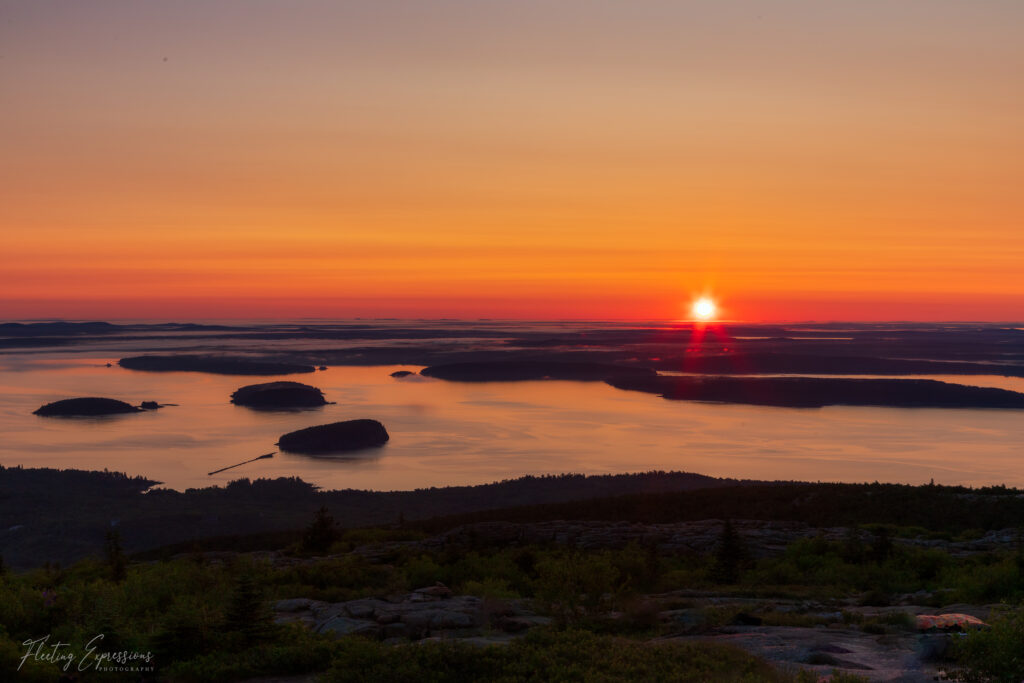
I scout for possible locations when we are driving to a new campsite, making mental notes of the surrounding landscape and what I like about it. My favorite scenes will have mountains and water so I’m always on the lookout for those features in an area. For the image below (left), we took a drive on the Kancamagus Highway in New Hampshire and stopped to take in some of the vibrant colors. I was drawn to the reflection in the water and spent more than a few minutes working to capture the scene I wanted. The image on the right was captured high atop Cadillac Mountain in Acadia National Park, Maine. I planned the shoot for the first day of summer which was the longest day of the year. That location is where the sun rises first (or nearly first) in the U.S. so it was a special moment to capture.
Pro Tip: if the location is a bucket list shot (like Cadillac Mountain was for me) do a test run before the actual day to work out any complications and improve your chances of getting the shot you want.
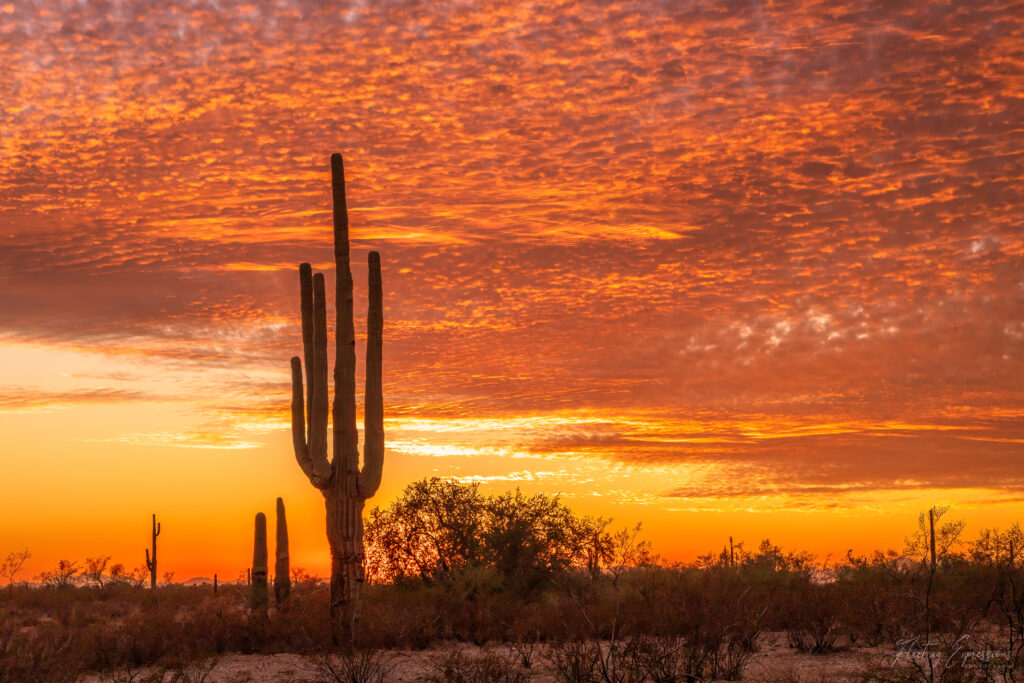
I feel it is important to point out that you can often find better photos in less popular spots. These hidden gems often provide untouched vistas and undiscovered perspectives, allowing the ability to capture the essence of a landscape in its purest form. I ventured off the beaten path at Sunrise to capture the sun peaking around the iconic Saguaro cactus on a warm winter evening in the Gold Canyon of Arizona. We have found some amazing campsites that put me right in the middle of incredible landscapes! I think embracing non-tourist areas fosters a deeper connection with nature and a sense of exploration, resulting in truly unique and memorable photographic experiences.
If I don’t see anything that interests me enough, I will go with plan b…research. I start with a simple Google search of local parks and wildlife areas. I also research several photo sites by just putting in the name of the area I am in. Often this will get me close enough to use Google Maps to narrow in on possible locations.
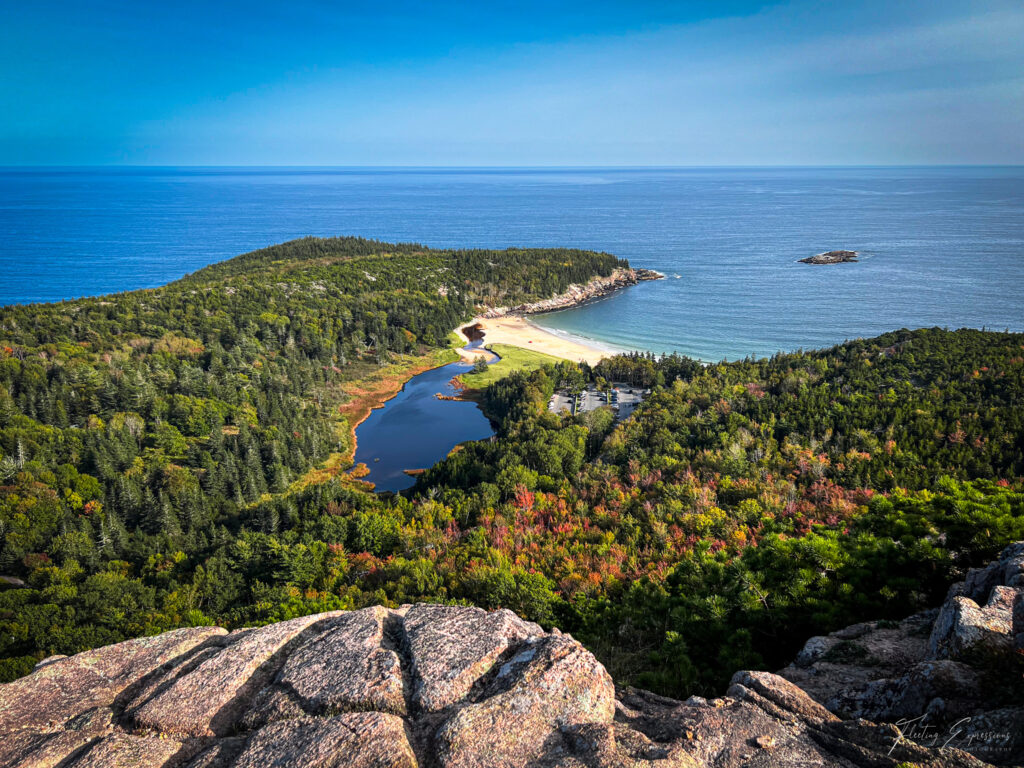
Once I have researched the area, I will head out for a drive to check any locations I might have found and see what else might be in the area. I look for composition ideas and ways to get to prime locations. I use my iPhone a lot during these scouting trips to get an idea of what might look good in the frame and what angle lends itself to the most interesting shot.
This image (left) was captured with my trusty iPhone 13 Pro at the top of the Bee Hive Trail in Acadia National Park. I wanted to capture the moment and although the trees were only beginning to show color, it is still one of my favorite photos from our time in Maine.
In summary, here’s my basic process for planning a landscape shoot:
- Google search the geographic region (ex. Southwestern Arizona) for photo ops.
- Use Google Maps to dial into a more specific area you will have access to.
- Use photo sites like Flickr and 100px to get visuals of the area’s landscapes.
- Go on a scouting adventure!
I enjoy location planning quite a bit. There is a lot of excitement in going to a new area and finding what treats Mother Nature has waiting for you. Once you have the location loosely chosen it’s time to plan the shoot!
Timing is Everything
Choosing the time of day to shoot is potentially the most important decision you will make. For a landscape photographer, golden hour is where it is at. The hours before sunset and after sunrise have the most striking soft light and that will add a touch of magic to your scene. I like to use Photo Pills to help me plan locations and what time to be in place for sunrises and sunsets. It can take several minutes to get set up so give yourself plenty of time, especially if the location requires a hike, and add more time if you will be hiking in the dark to capture a sunrise.
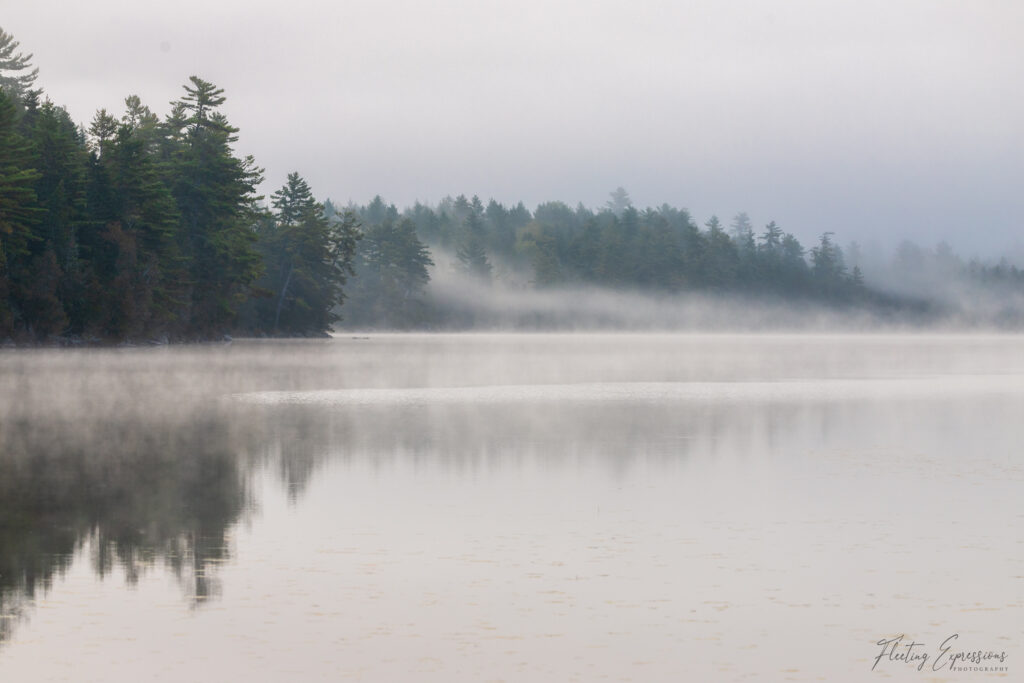
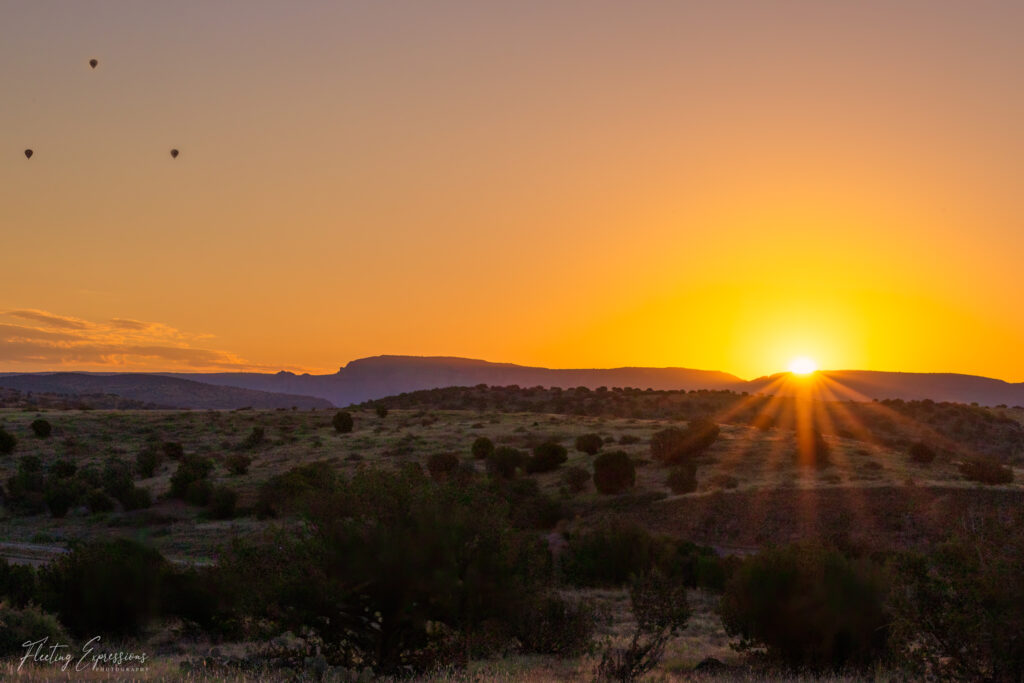
Both of the images below were taken at sunrise. The one on the left is Hurd Pond in Maine on a foggy morning. The one on the right was taken just a few steps from the trailer door in Sedona, AZ. You never know what you’ll get at sunrise!
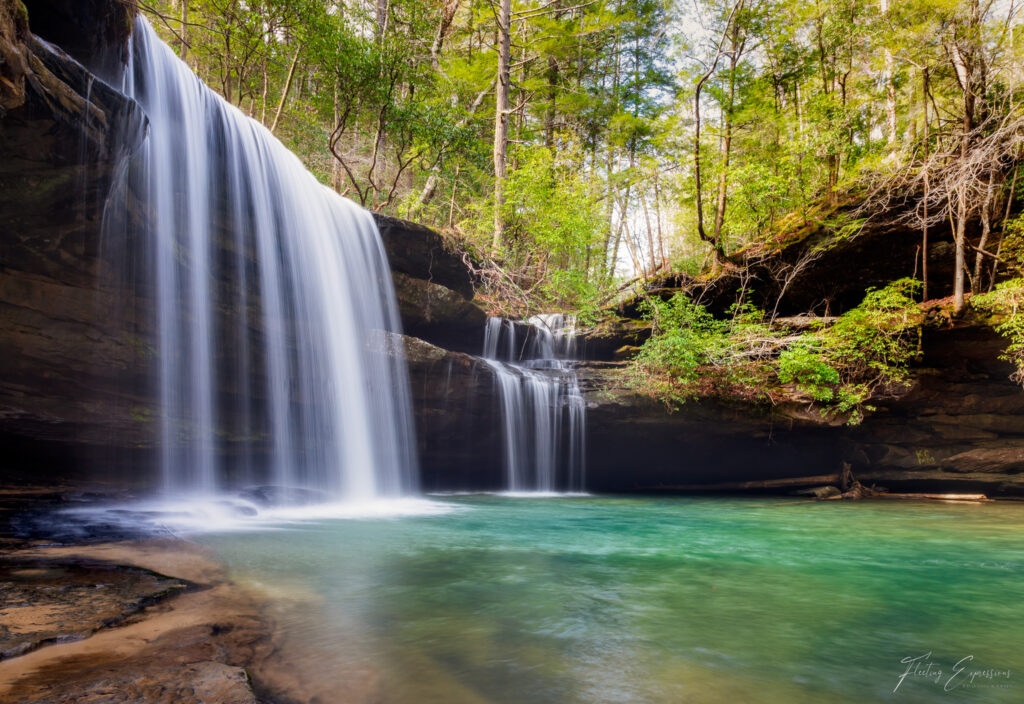
Another timing consideration is what season you will be shooting in. Fall and winter can produce very different results than spring and summer. I’ll never forget hiking to a waterfall in Arkansas many years ago in the fall anticipating colorful leaves only to find bare trees.
The weather can be unpredictable so be prepared to take advantage of the elements to add interest to the landscape. Don’t let rainy days and stormy skies deter you. Chasing rainbows can be a worthy activity! Blue skies are nice but without clouds, they can be fairly uninteresting. I check my weather app often and go out on days when it’s at least partly cloudy. Paired with the golden hour, clouds can add some magic to your images!
Choosing Your Gear
Alright, let’s talk camera gear for landscape photography. First up, you’ll want a solid DSLR or mirrorless camera with a high-res sensor to ensure your images are crisp and vibrant. Pair that with a trusty wide-angle lens, like a 16-35mm or 24-70mm, to capture the grandeur of those expansive landscapes. And don’t forget a sturdy tripod to keep everything steady, especially for those long exposure shots or when the light’s a bit dim. Filters are pretty useful too. ND filters help with exposure while polarizing filters make those colors pop and reduce annoying glare. With the right gear in your kit, you’ll be ready to bring out the best in every landscape you encounter!
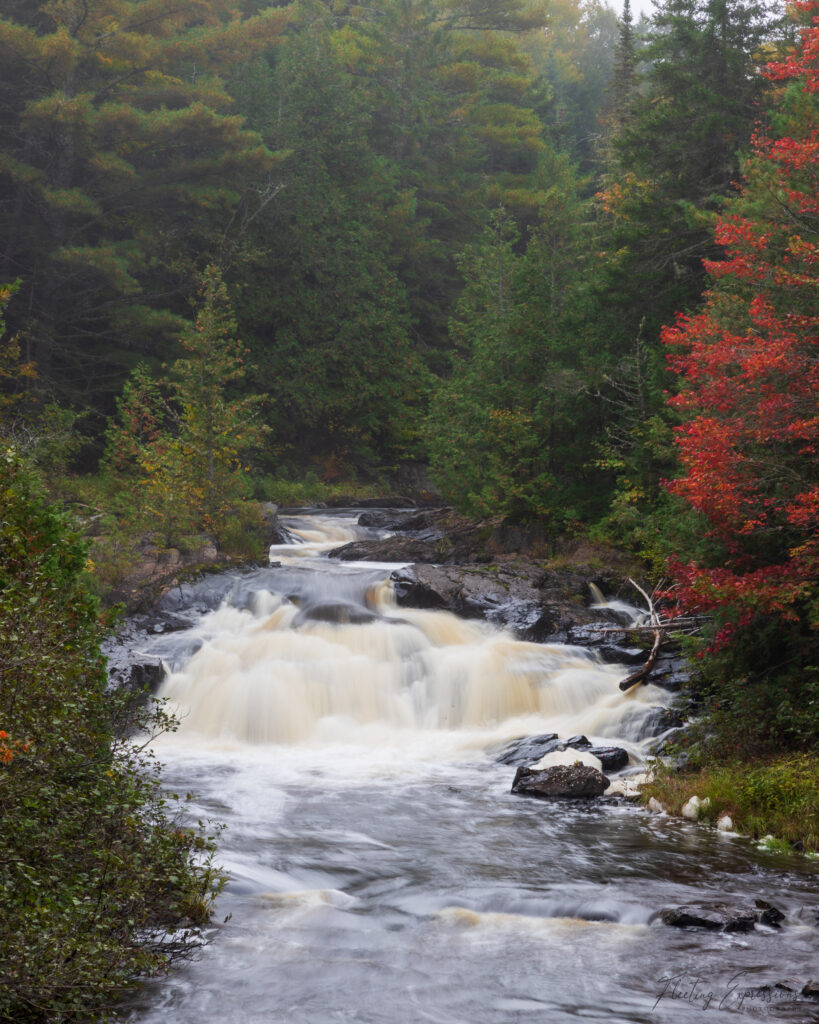
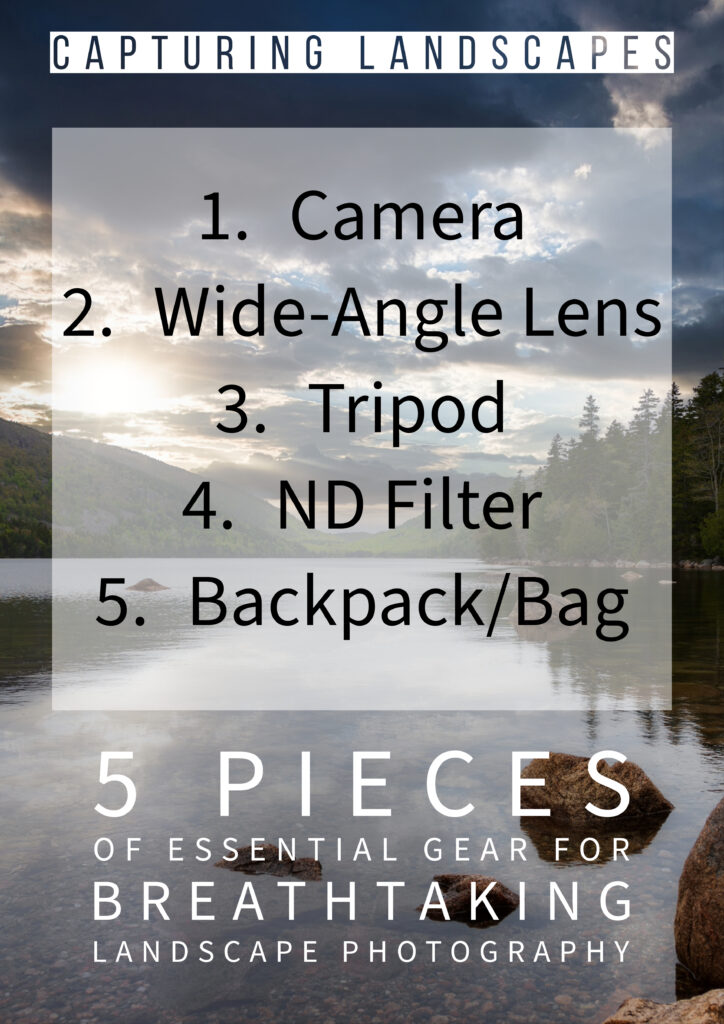
When my chosen location involves a hike, I will often trade out my heavy tripod for what I consider to be the greatest invention ever, a Platypod. This fantastic product offers stability and flexibility in setup. Plus, it is much lighter and easier to carry. Check them out here!
Perhaps the most important item of all might be a backpack or bag of some sort to carry all the gear. I have a backpack that I love but I recently added a fanny pack that will hold just the essentials and lighten my load quite a bit. The bigger the bag the more I will stuff into and the heavier it will get!
In the next post, I will cover capturing the image (composition and settings) and post-processing your images. Until then you can check out part 1 here if you missed it! Go out, hit the trails, and embrace the natural beauty of our planet. Don’t forget to share your images on social media and tag me! I can’t wait to see what you create!
